How to change background in Stable Diffusion
You can add or change background of any image with Stable Diffusion. This technique works with both real and AI images.
Here are some images with the background changed.
Software
We will use AUTOMATIC1111 Stable Diffusion WebUI, a popular and free open-source software. You can use this GUI on Windows, Mac, or Google Colab.
Check out the Quick Start Guide if you are new to Stable Diffusion. Check out the AUTOMATIC1111 Guide if you are new to AUTOMATIC1111.
Change Background with Stable Diffusion
This method uses the Rembg extension. You can use this extension to remove the background of any image. But we will use it to create an inpaint mask.
Step 1: Install the Rembg extension
Follow these steps to install the extension.
Start AUTOMATIC1111 Web-UI normally.
2. Navigate to the Extension Page.
3. Click the Install from URL tab.
4. Enter the following URL in the URL for extension’s git repository field.
https://github.com/AUTOMATIC1111/stable-diffusion-webui-rembg
5. Click the Install button.
6. Wait for the confirmation message that the installation is complete.
7. Restart AUTOMATIC1111.
Step 2: Generate an image
We will first generate an AI image. You can skip this step if you already have an image.
Open AUTOMATIC1111. Go to the txt2img page.
Stable Diffusion Checkpoint: DreamShaperXL Alpha 2
Prompt:
woman in space suit , underwater, full body, floating in water, air bubbles, detailed eyes, deep sea in background
Negative prompt:
disfigured, deformed, ugly
Sampling method: DPM++ 2M Karras
Sampling steps: 25
Size: 1216 x 832
CFG Scale: 7
Select the image you want to remove the background. Click the Send to Extras button under the image to send it to the Extras page.
The image should now appear on the Extra page.
Step 2: Create an inpaint Mask
If you start with an image, drag and drop it to the source canvas.
Select u2net in the Remove background dropdown menu.
Select Return mask.
Press Generate to create a mask.
You should get a mask of the foreground image. Save it to your local storage.
If you don’t get a good mask, follow the instructions in this post to customize the alpha matte settings.
Step 3: Inpaint with the mask
You will now use inpainting to regenerate the background while keeping the foreground untouched.
Go to the img2img page > Generation > Inpaint Upload.
Drop the original image on the upper canvas.
Drop the mask image you just created on the mask canvas.
Enter a prompt to describe the new background. I will use the following prompt.
woman in space suit , underwater, full body, floating in water, air bubbles, detailed eyes, deep sea in background, water surface, god ray, fish
Negative prompt:
disfigured, deformed, ugly
Mask mode: Inpaint not masked (This is important because you want to inpaint the black area.)
Mask Content: Original
Inpaint area: Whole picture
Sampling method: Euler a
Sampling steps: 25
Size: 1216 x 832
CFG Scale: 7
Denoising strength: 1 (So that the background do not follow original content at all)
Press Generate.
Now she’s underwater instead of in space!
Optional: Inpaint with ControlNet
If the background is not quite right, such as generating some foreground or extra limbs, you can turn on ControlNet in the inpainting step.
If you don’t have ControlNet installed, follow this article to install it (You will need it!).
The following example uses the ControlNet XL Depth model. Follow this article to install the model.
The Depth ControlNet tells Stable Diffusion where the foreground and background are. The image generated will have a clear separation between foreground nad background.
Do everything in Step 3. Scroll down to the ControlNet section.
Enable: Yes
Pixel Perfect: Yes
Allow Preview: Yes
Upload independent control image: Yes
Control Type: Depth
Preprocessor: Depth Midas
Model: sai_xl_depth_256lora
Click the preview button next to the Preprocessor menu to preview the depth map. Make sure it accurately represents the depth of the image. If not, try other depth preprocessors.
You can leave the rest of the ControlNet settings as the default.
Press Generate. You will get images with the foreground following the depth map.
The Depth ControlNet is not the only ControlNet that works. You can also use:
Canny
Line art
Inpainting
Additional examples
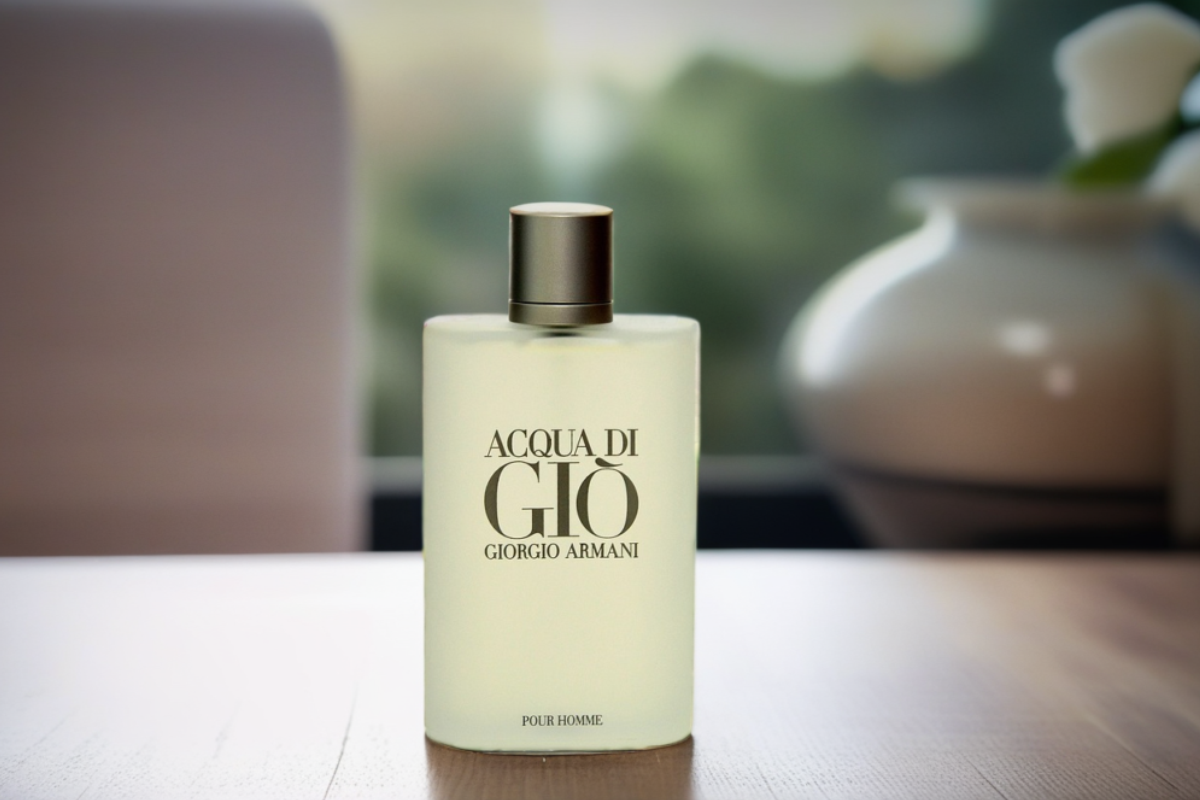
Product image
Here’s the initial product image.
Use the same technique with the ControlNet Depth model and a realistic model.
Stable Diffusion Checkpoint: RealVisXL V2.0
Prompt:
Product photo of a bottle of perfume on a wooden table, modern living room
Product photo of a bottle of perfume on a rock, nature setting, shadow
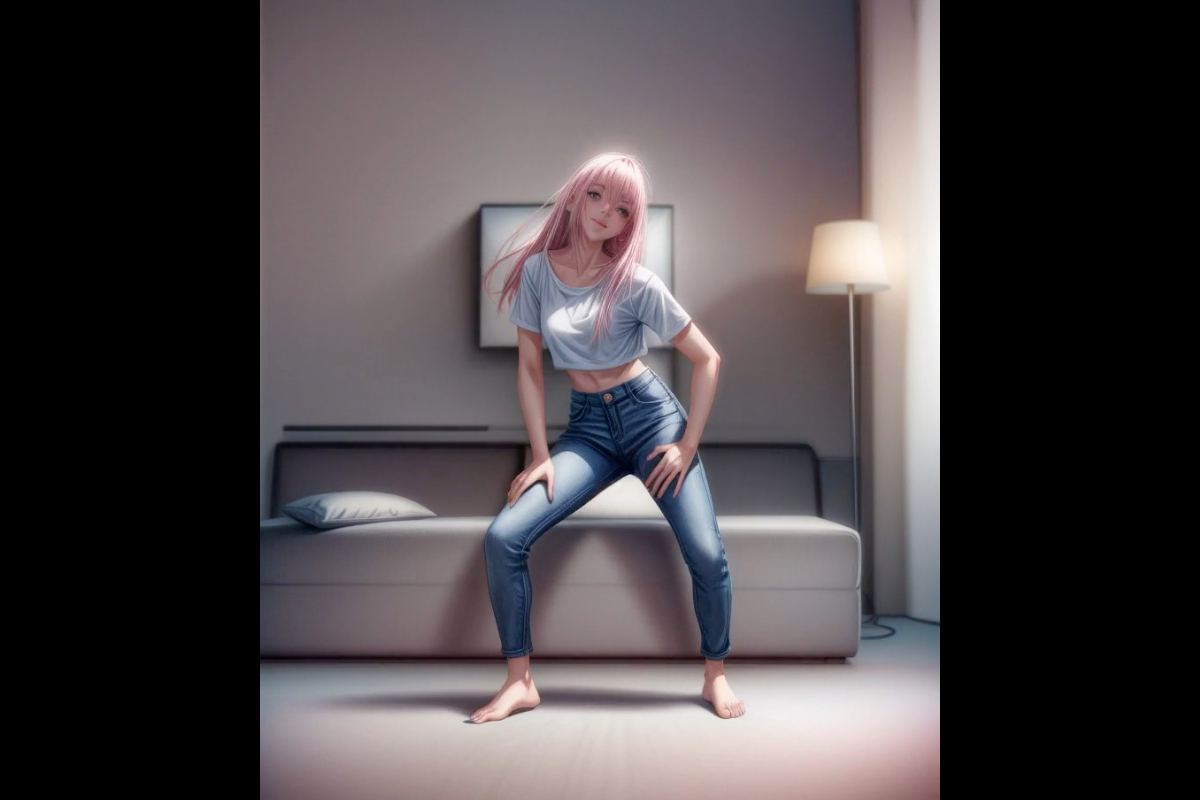
Real photo
Used Stable Diffusion Checkpoint RealVisXL V2.0 and prompt:
A woman lying on a sandy beach
The mask was slightly off, resulting in a black outline on her left arm. I used inpainting (without ControlNet) and a low denoising strength of 0.3 to repair the outline.
Tips for changing background
ControlNet Depth helps Stable Diffusion to differentiate the foreground and background. It will increase your chance of generating the correct image.
I used the XL Depth ControlNet model in the tutorial. If you are using a v1.5 model, use the corresponding depth model (control_v11f1p_sd15_depth).
It is okay if the mask is slightly off. You can use inpainting to repair problematic edges.
Instead of using the mask from the Rembg extension, you can try the Control Maps of the depth models. They sometimes work well.
The post How to change background in Stable Diffusion first appeared on Stable Diffusion Art.</p>